
In the world of video creation, your choice of format dictates the final quality of your work. While MP4 is the "universal language" of the web, MOV (QuickTime) is the true "unsung hero" when you step into professional editing or the Apple ecosystem.
Many creators face the same frustration: MP4 files that drop frames in editing software or turn into a blurry mess after conversion. To solve these pain points, I’ve deeply tested the 6 most popular tools on the market to help you find the ultimate solution—one that preserves your high-resolution quality while significantly boosting your workflow efficiency.
MP4 vs. MOV: Why the Shift to MOV is a Growing Trend
If you think of MP4 (MPEG-4 Part 14) as a highly compressed "photo" optimized for quick sharing, then MOV is more like a "treasure chest" designed by Apple. While both are container formats that can hold similar data, their purposes in a professional workflow are worlds apart.
Here is why converting your MP4 files to MOV is becoming a standard move for creators:
-
Smoother Editing: MP4 is built for watching, not editing. It forces your computer to work hard to "unzip" the video, leading to lag. MOV is much easier for your computer to process, ensuring a smooth, lag-free experience when you're cutting or previewing your clips.
-
Support for Transparency: This is a game-changer. Unlike MP4, MOV can support "Alpha Channels," allowing you to save videos with transparent backgrounds. This is essential for anyone using dynamic logos or overlay effects.
-
Pro-Level Quality: In the era of 4K and 8K, pixels matter. MOV uses less compression than MP4, meaning it preserves more color depth and shadow detail. It’s the go-to choice for maintaining "Master Quality" before your final export.
Quick Comparison at a Glance
|
Feature |
MP4 (.mp4) |
MOV (.mov) |
|
Developer |
MPEG (International Standard) |
Apple (QuickTime) |
|
Best For |
Social Media, Streaming, Mobile |
Pro Editing, Mac Workflows, Archiving |
|
Compression |
High (Small Files) |
Low (Large, High-Detail Files) |
|
Compatibility |
Universal (Windows, Android, Web) |
Native to Apple (Highly compatible with Pro tools) |
|
Transparency |
No |
Yes (Supports Alpha Channel) |
Top 6 Tools to Convert MP4 to QuickTime
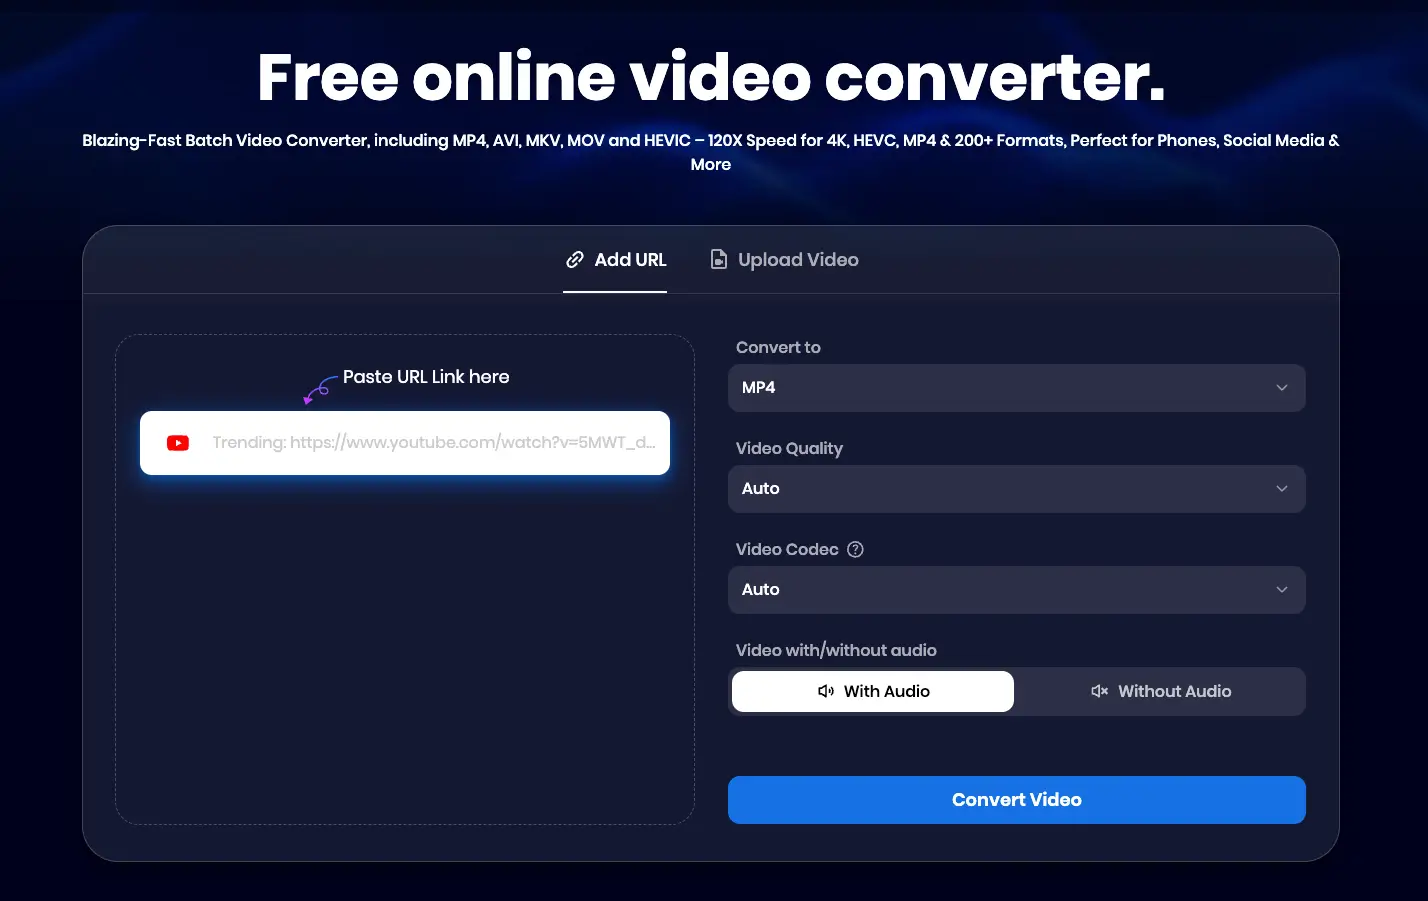
1. Snappixify (? Editor’s Choice)
Snappixify is undoubtedly the dark horse of the video tool world in 2026. It is far more than a simple video converter; it is a feature-rich, one-stop multimedia platform. Whether you want to download your favorite videos from 1,000+ websites(such as YouTube, TikTok, and Instagram) or need to process video, audio, or even convert Word to PDF, it handles everything with ease.
Features:
-
All-in-One Integration: A versatile suite that combines video downloading, audio/video conversion, and document processing in one place.
-
Powerful Downloader: High-speed support for grabbing media assets from over 1,000 popular global websites.
Pros:
-
Pure and Clean: No registration or login is required. Best of all, the interface is completely free of annoying pop-up ads.
-
King of Formats: Among all the tools I’ve discovered, this one supports the widest variety of output formats.
-
Professional Control: You have the freedom to manually select the Video Codec and Audio Quality.
-
Quality Guardian: It allows you to choose the Video Quality (such as 1080p or higher), ensuring your converted video stays crisp and professional.
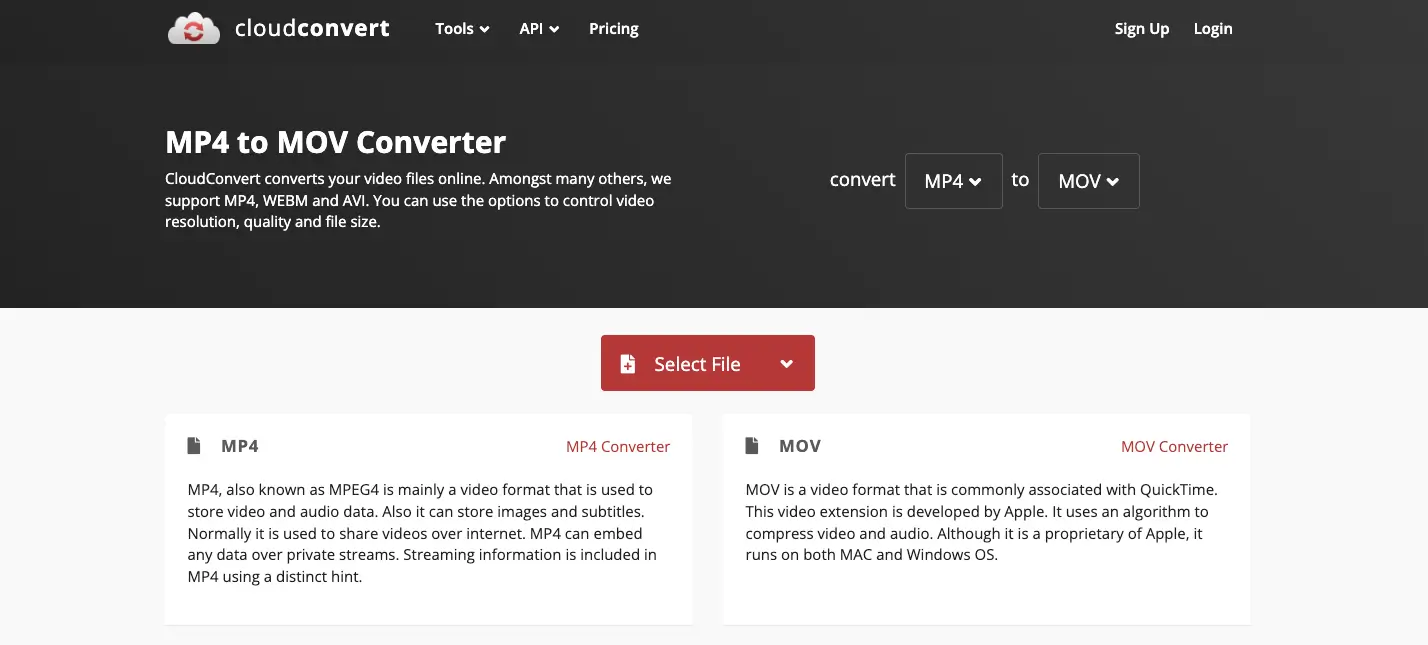
2. CloudConvert
CloudConvert is one of the oldest and most well-known names in the online conversion space. It positions itself as a "Swiss Army knife" for file formats, supporting nearly everything from videos and audio to images and documents.
Features:
-
Massive File Support: Beyond video, it handles over 200+ formats including documents, archives, and even CAD files.
-
Cloud Integration: It allows you to import files directly from Google Drive, Dropbox, or OneDrive, which is convenient for cloud-based workflows.
Pros:
-
Clean & Professional: No annoying pop-ups or ads; premium user experience.
-
No Sign-Up Required: Start converting instantly without creating an account.
-
Multiple File Types: Supports video, audio, images, and even documents.
-
High Reliability: A stable, long-standing platform with predictable results.
Cons:
-
Limited Parameters: You can only choose the format—no advanced quality or codec settings.
-
Asymmetric Options: It accepts many input types, but often offers very few output format choices.
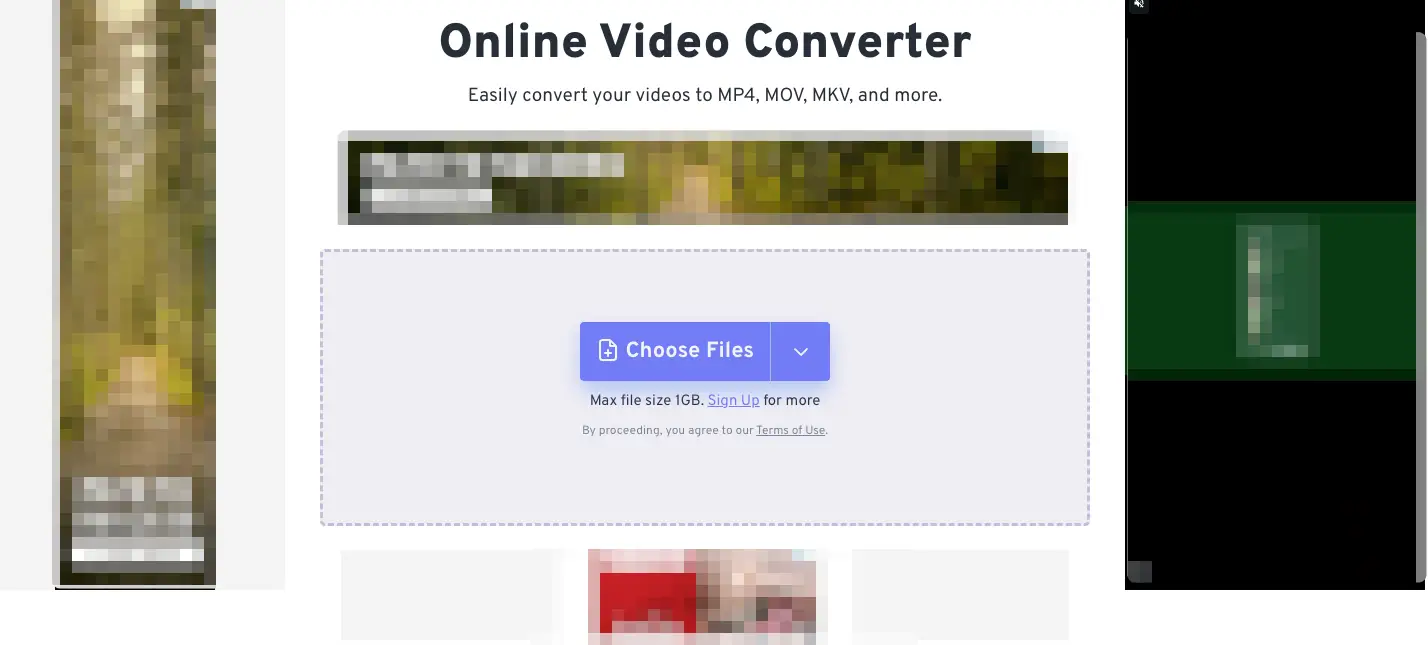
3. FreeConvert
FreeConvert is a heavyweight in the online conversion world, particularly favored for its high file-size limits and advanced technical options. While it is highly capable, the user experience is significantly different from more minimalist tools.
Features:
-
Large File Capacity: Supports converting files up to 1 GB for free, making it one of the most generous web-based converters available.
-
Cloud Integration: Supports direct file uploads from Google Drive, Dropbox, and via URL.
Pros:
-
Advanced Technical Tweak: Offers a robust "Advanced Settings" menu where you can adjust video codecs (H.264/H.265), screen resolution, aspect ratio, and frame rate.
-
Totally Free to Start: You can access almost all professional-level features without paying a cent or creating an account.
-
Batch Processing: Allows you to upload and convert multiple files simultaneously, which is a major time-saver for large projects.
Cons:
-
Ad-Heavy Interface: The conversion page is cluttered with numerous advertisements, which can be very distracting and make the site feel "messy."
-
Cluttered UI: Unlike Snappixify or CloudConvert, the design is not minimalist. The abundance of buttons and banners can make it difficult to navigate at first.
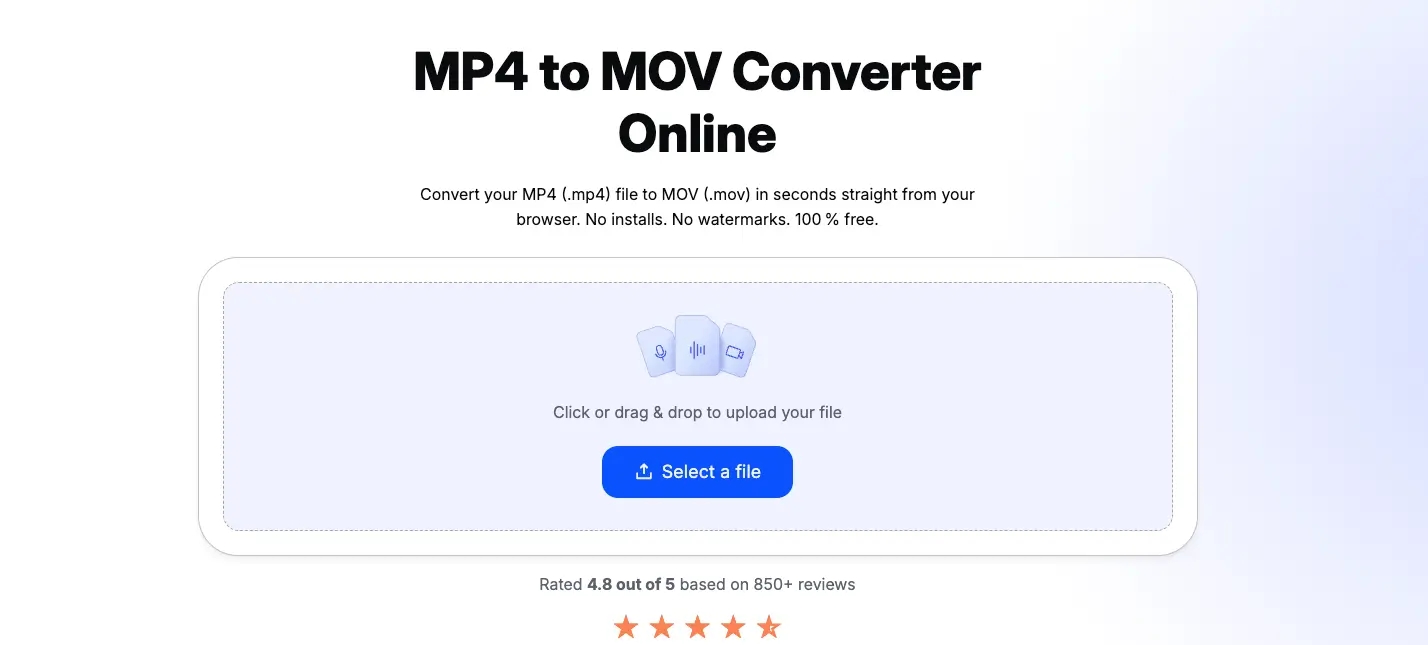
4. Happy Scribe
While Happy Scribe is primarily famous for its AI transcription and subtitling services, it also offers a surprisingly clean and fast standalone video converter. It is an excellent "quick-fix" tool for creators who want a clutter-free interface without complex features.
Features:
-
Large File Support: The free version supports converting individual video files up to 4 GB, which is exceptionally rare for web-based tools.
-
Security & Privacy: It utilizes TLS 1.3 encryption to ensure your videos remain secure and private during the upload and processing stages.
Pros:
-
Completely Free & No Watermarks: Unlike their paid transcription services, this converter is currently free to use and exports clean videos without any branding.
-
Minimalist UI Design: The interface is incredibly straightforward—just upload, choose your format, and download. There is practically no learning curve.
-
Mobile-Friendly: As a responsive web app, it runs smoothly on both iOS Safari and Android Chrome, making it great for on-the-go conversions.
Cons:
-
Lack of Advanced Customization: You cannot fine-tune deep parameters like video codecs, bitrates, or specific audio quality settings.
-
Service-Oriented Prompts: Since their main business is transcription, you will see frequent prompts encouraging you to try their paid AI captioning services.
-
Single-Task Processing: It does not support batch conversions; you must process your files one by one, which can be time-consuming for large projects.
5. VEED.IO
VEED.IO is a premium, cloud-based video editing suite that offers a dedicated converter tool. It is ideal for creators who want to do more than just change a file format—it’s built for those who want to polish their content in one go.
Features:
-
Integrated Video Editor: Transition seamlessly from converting to editing with tools for cutting, adding text, and progress bars.
-
Auto-Subtitles: Access one of the most accurate AI subtitle generators directly after your conversion.
-
Screen & Webcam Recorder: Includes built-in recording tools, making it a complete workstation for tutorial creators.
-
Cloud Storage: Save your projects online so you can access and re-edit your MOV files from any device.
Pros:
-
Modern & Intuitive UI: The interface is sleek, professional, and very easy to navigate even for beginners.
-
No Software Required: Everything runs in your browser, saving you from heavy installations.
-
Collaboration Tools: Easily share a link to your converted video for team feedback without downloading the file.
Cons:
-
Slower Conversion Speeds: Because it is a heavy web app, the actual conversion process can feel slower compared to lightweight tools like Snappixify.
-
Watermark on Free Plan: If you use any of the editing features before exporting, a watermark is added unless you upgrade to a paid subscription.
-
Internet Dependent: Requires a very stable and fast connection; otherwise, uploading large 4K files can be frustrating.
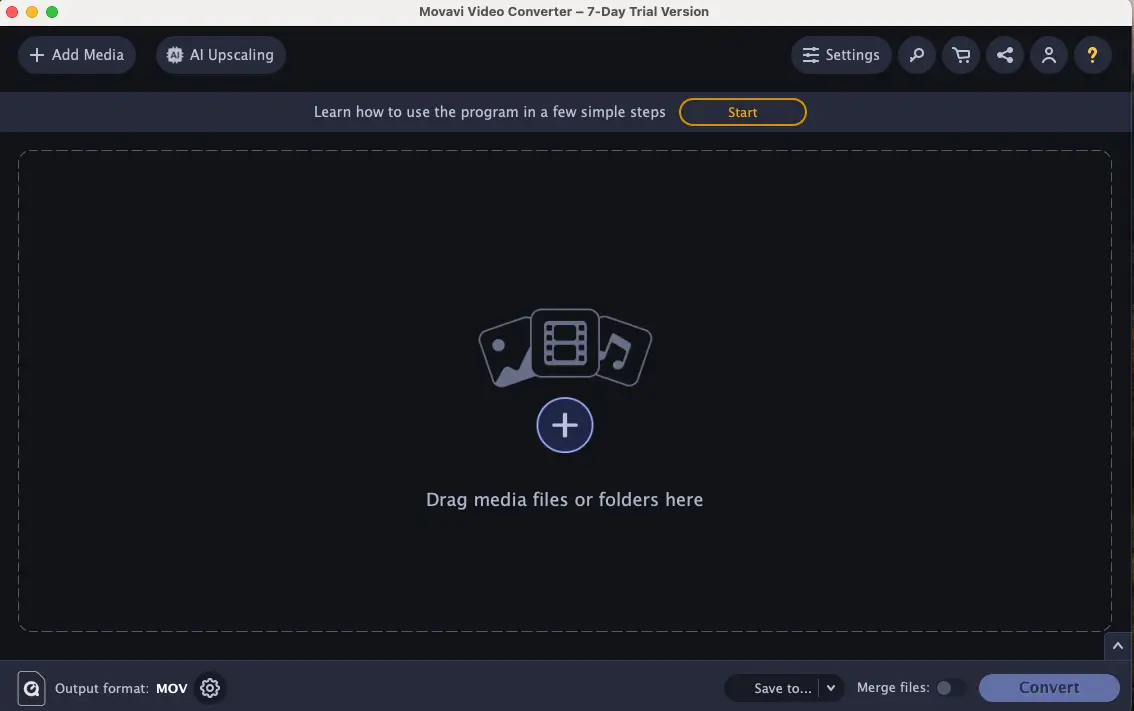
6. Movavi Video Converter
Unlike the previous web-based tools, Movavi is a professional desktop application that you must download and install. It is built for speed and stability, making it the go-to choice for users who need to process massive amounts of 4K footage without relying on an internet connection.
Features:
-
SuperSpeed Technology: This allows for near-instant conversion by changing the file container without re-encoding the video stream, resulting in zero quality loss.
-
AI-Powered Upscaling: Includes advanced AI tools that can increase the resolution of low-quality videos up to 8 times.
-
Batch Parallel Processing: Leverages GPU acceleration (NVIDIA, Intel, AMD) to convert dozens of large files simultaneously at incredible speeds.
-
Basic Editing Suite: Features built-in tools to trim, crop, adjust colors, and even add subtitles before you export.
Pros:
-
Extreme Reliability: Since it’s a desktop software, it doesn't suffer from upload failures or browser crashes when handling 10GB+ files.
-
1:1 Quality Preservation: The SuperSpeed mode ensures that your MOV output is a perfect replica of the original MP4 source.
-
Modern Interface: The UI is sleek and highly intuitive, offering a much more "premium" feel than most online converters.
Cons:
-
Installation Required: You cannot use it directly in a browser; you must download the installer, which isn't ideal for a quick, one-time task.
-
Restrictive Free Trial: While it offers a 7-day free trial, it is heavily limited. The trial version adds a large watermark to the middle of your videos and often only converts the first half (or 60 seconds) of the file.
-
Paid Software: To remove the watermark and unlock the full conversion length, you must purchase a subscription or a lifetime license.
Overall, using Snappixify is an incredibly smooth experience. While uploading larger files takes a bit more time, the overall speed remains impressive. What I love most is the granular control—being able to select a higher Video Qualityand a specific Video Codec ensures my footage stays professional. Additionally, the "With/Without Audio" toggle is a massive time-saver; it allows me to strip sound during conversion so I don't have to open extra editing software just to mute a clip. It is truly the most efficient and user-friendly tool in my workflow.
Which Tool Should You Choose?
|
Tool |
Best For |
Platform |
Price Model |
Key Advantage |
|
Snappixify |
Pro Controls |
Web |
Free |
High-quality codec & audio toggles. |
|
CloudConvert |
Simple & Clean |
Web |
Free Tier |
Ad-free, professional interface. |
|
FreeConvert |
Large Files |
Web |
Free |
1GB limit & advanced batch tasks. |
|
Happy Scribe |
Quick Fixes |
Web |
100% Free |
4GB file support with no sign-up. |
|
VEED.IO |
Social Media |
Web |
Freemium |
Built-in editor and auto-subtitles. |
|
Movavi |
High Volume |
Desktop |
7-Day Trial |
SuperSpeed conversion & offline stability. |
How to Use Snappixify: A Step-by-Step Guide
Snappixify is designed to be powerful yet simple. Here is how to get the most out of its professional settings:
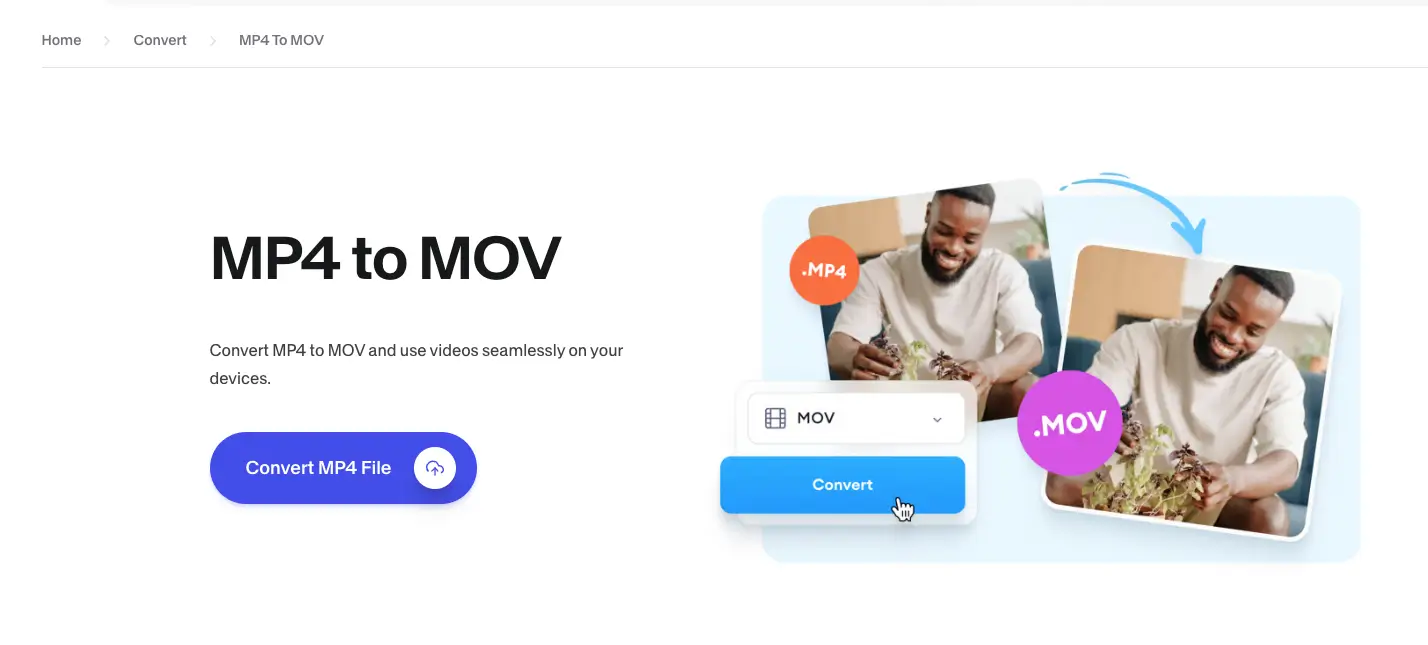
Step 1: Visit the Site
Go to the Snappixify homepage. The clean interface makes it easy to find the conversion area immediately.
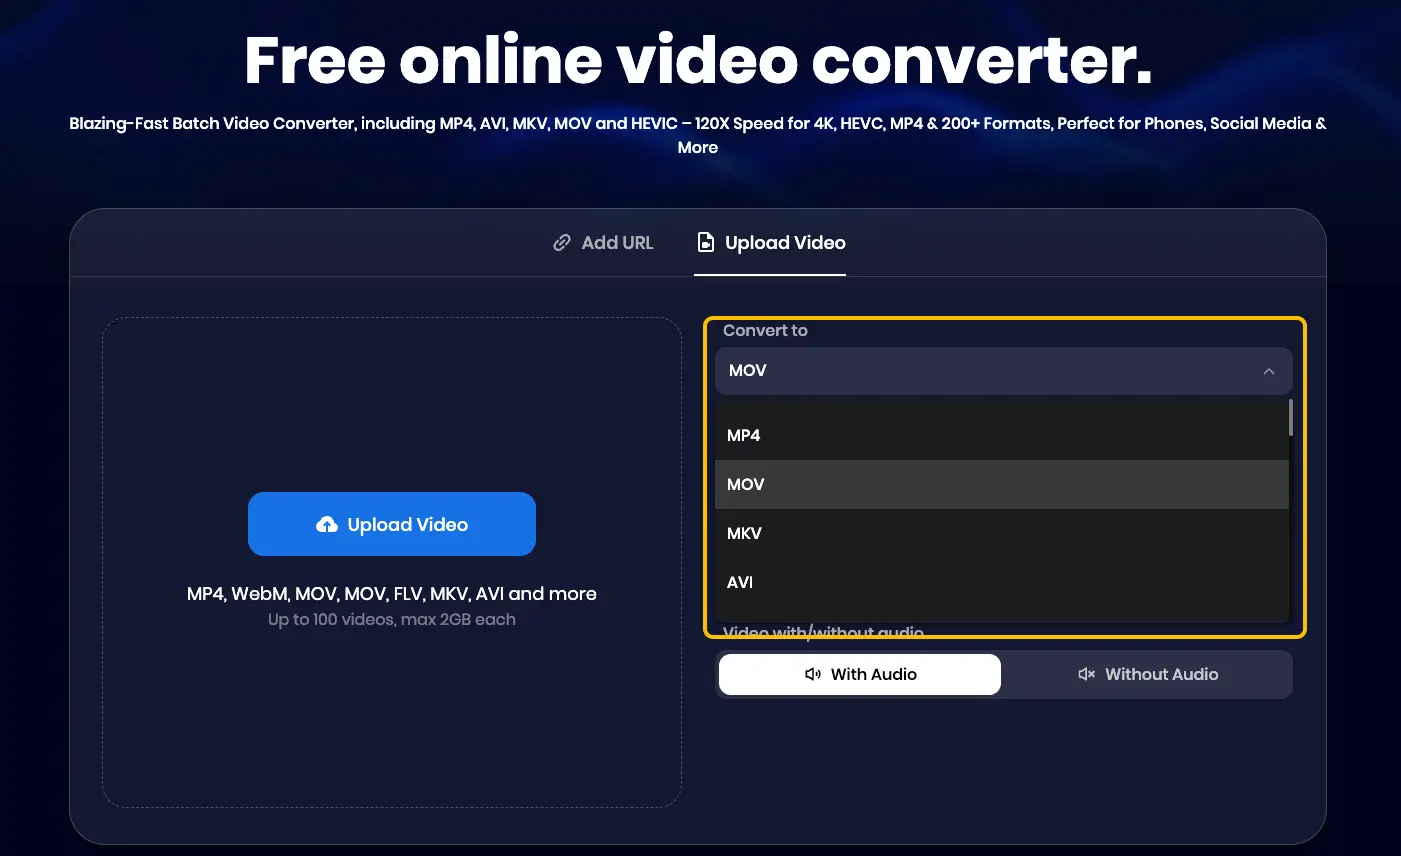
Step 2: Choose the Format (MOV)
Select MOV as your target output format. This is the preferred format for high-quality video editing, especially if you are working on a Mac or in Premiere Pro.
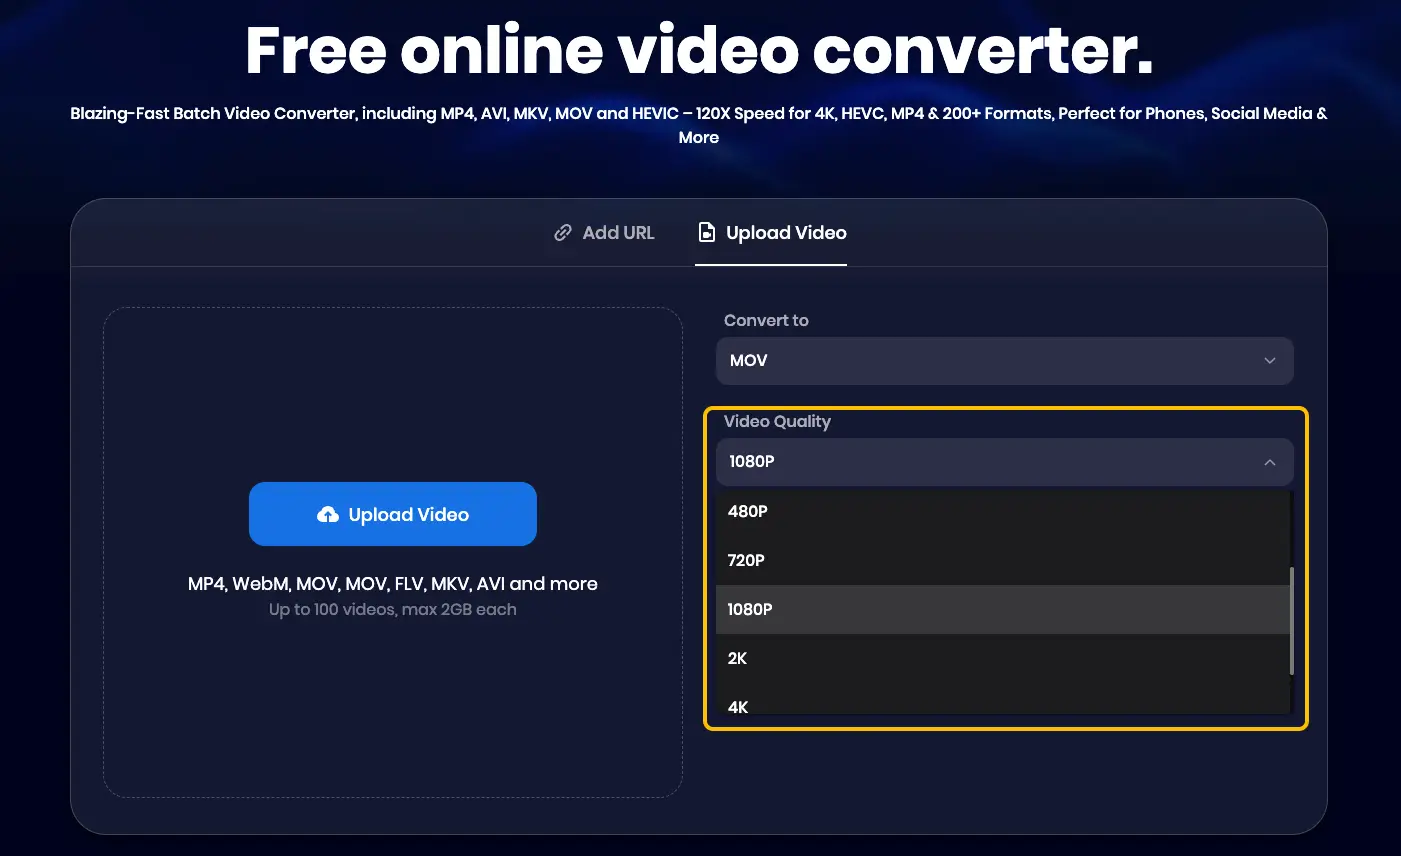
Step 3: Choose Video Quality
This is where Snappixify shines. You will see several options:
-
What to Choose: For most creators, 1080p (Full HD) is the "sweet spot." It provides a crisp, clear image that looks great on YouTube and social media without creating a file that is too heavy to upload.
-
The Difference:
-
720p: Good for quick previews or small screens, but can look blurry on monitors.
-
1080p: The industry standard for high-quality web video.
-
4K: The highest detail, but be prepared for much longer upload and download times.
-
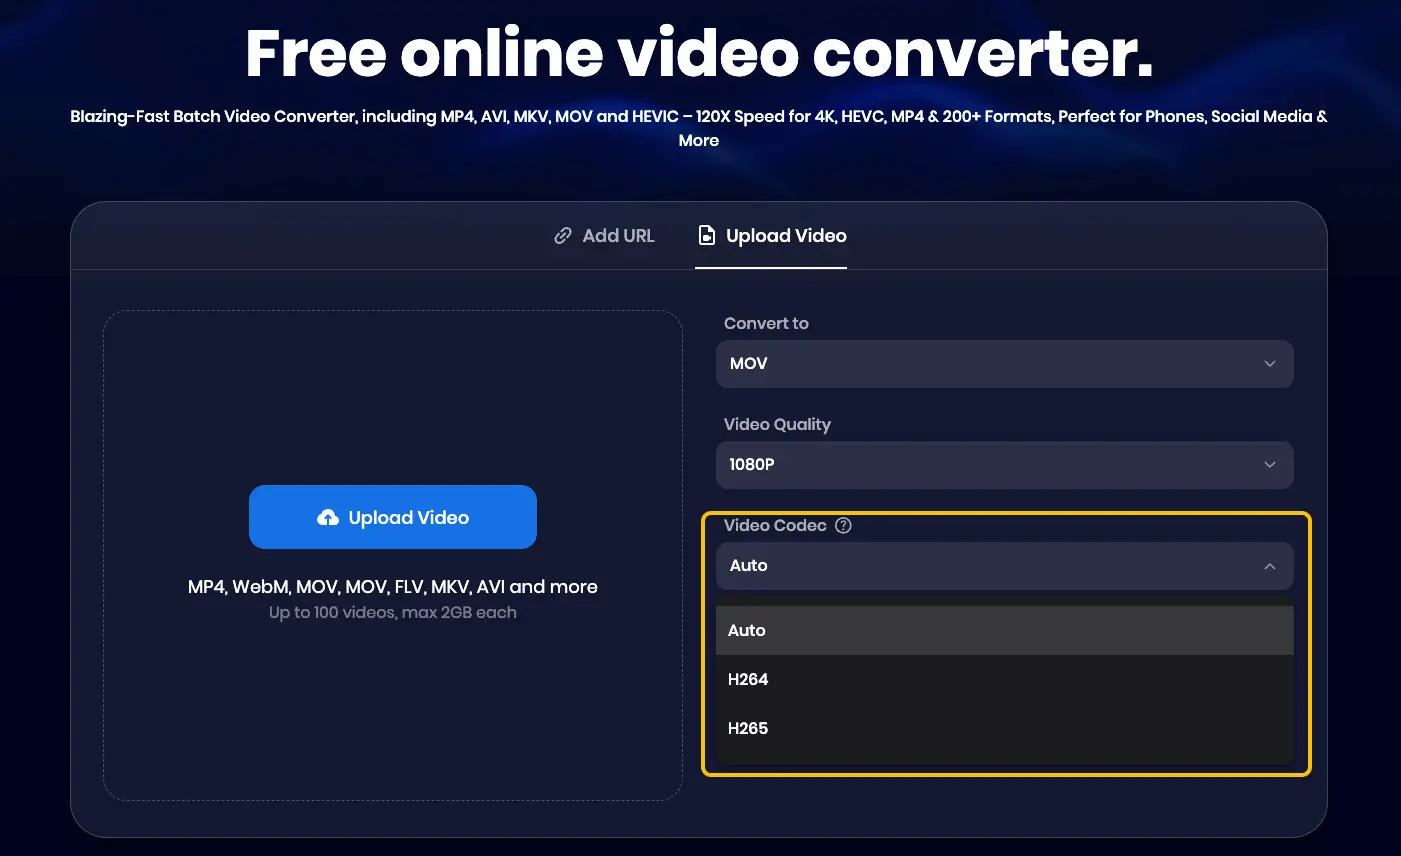
Step 4: Choose Video Codec
Selecting the right codec balances file size and compatibility. Snappixify offers three primary options:
-
Auto: The recommended setting for most users. If you are unsure which codec to use, select this and the system will automatically choose the most balanced configuration for your file.
-
H.264 (AVC): The industry standard for maximum compatibility. It works across almost all devices, browsers, and editing software. Choose this if you need your file to play everywhere without issues.
-
H.265 (HEVC): A more advanced codec that provides the same visual quality as H.264 but at a significantly smaller file size. It is ideal for high-resolution videos, though it may not be supported by older devices.
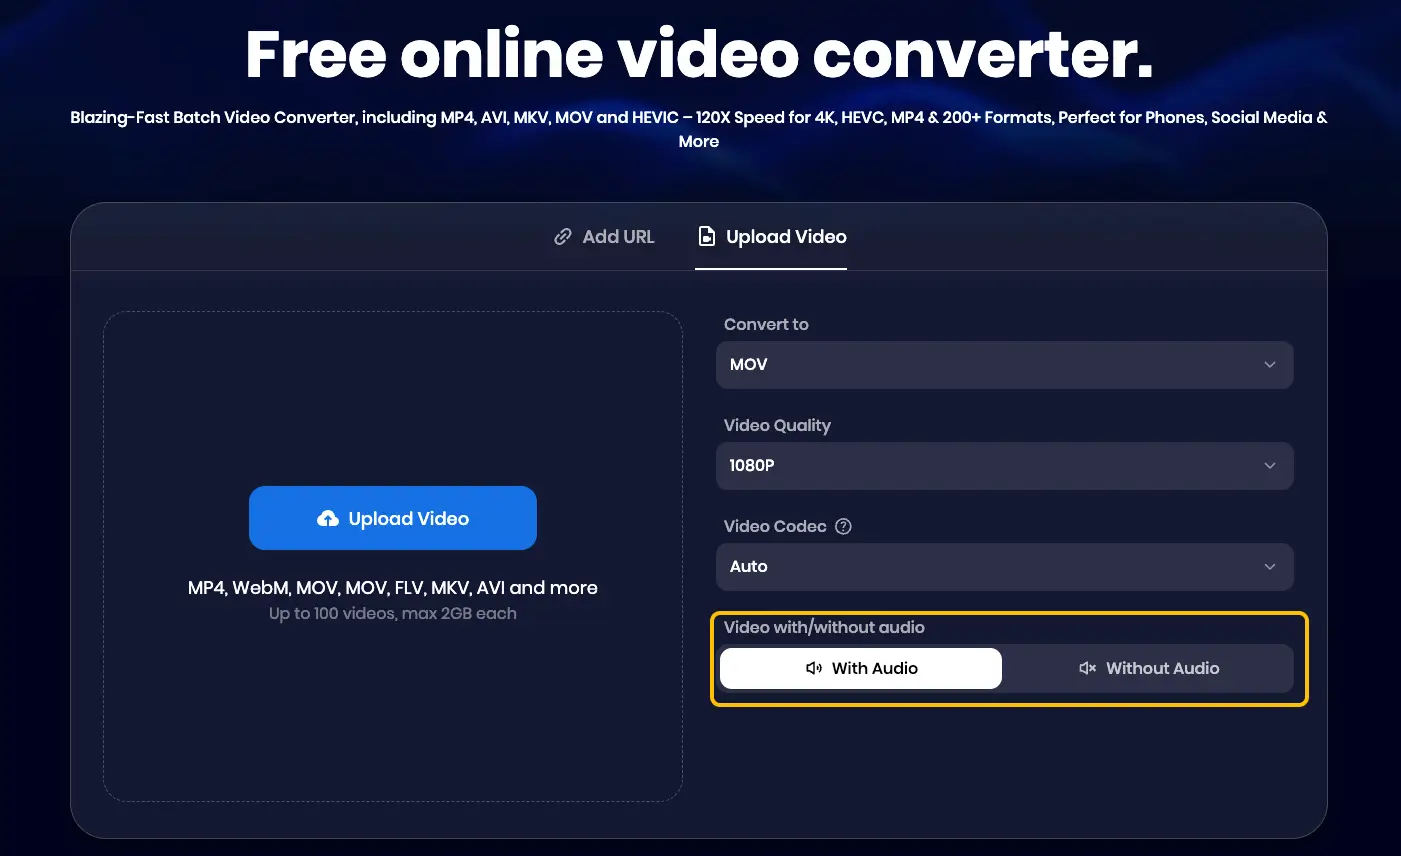
Step 5: Choose With Audio or Without Audio
This is a unique feature of Snappixify.
-
With Audio: Standard for most videos.
-
Without Audio: Perfect if you are converting B-roll or background footage. By selecting this, you don't have to manually mute or delete audio tracks in your editing software later.
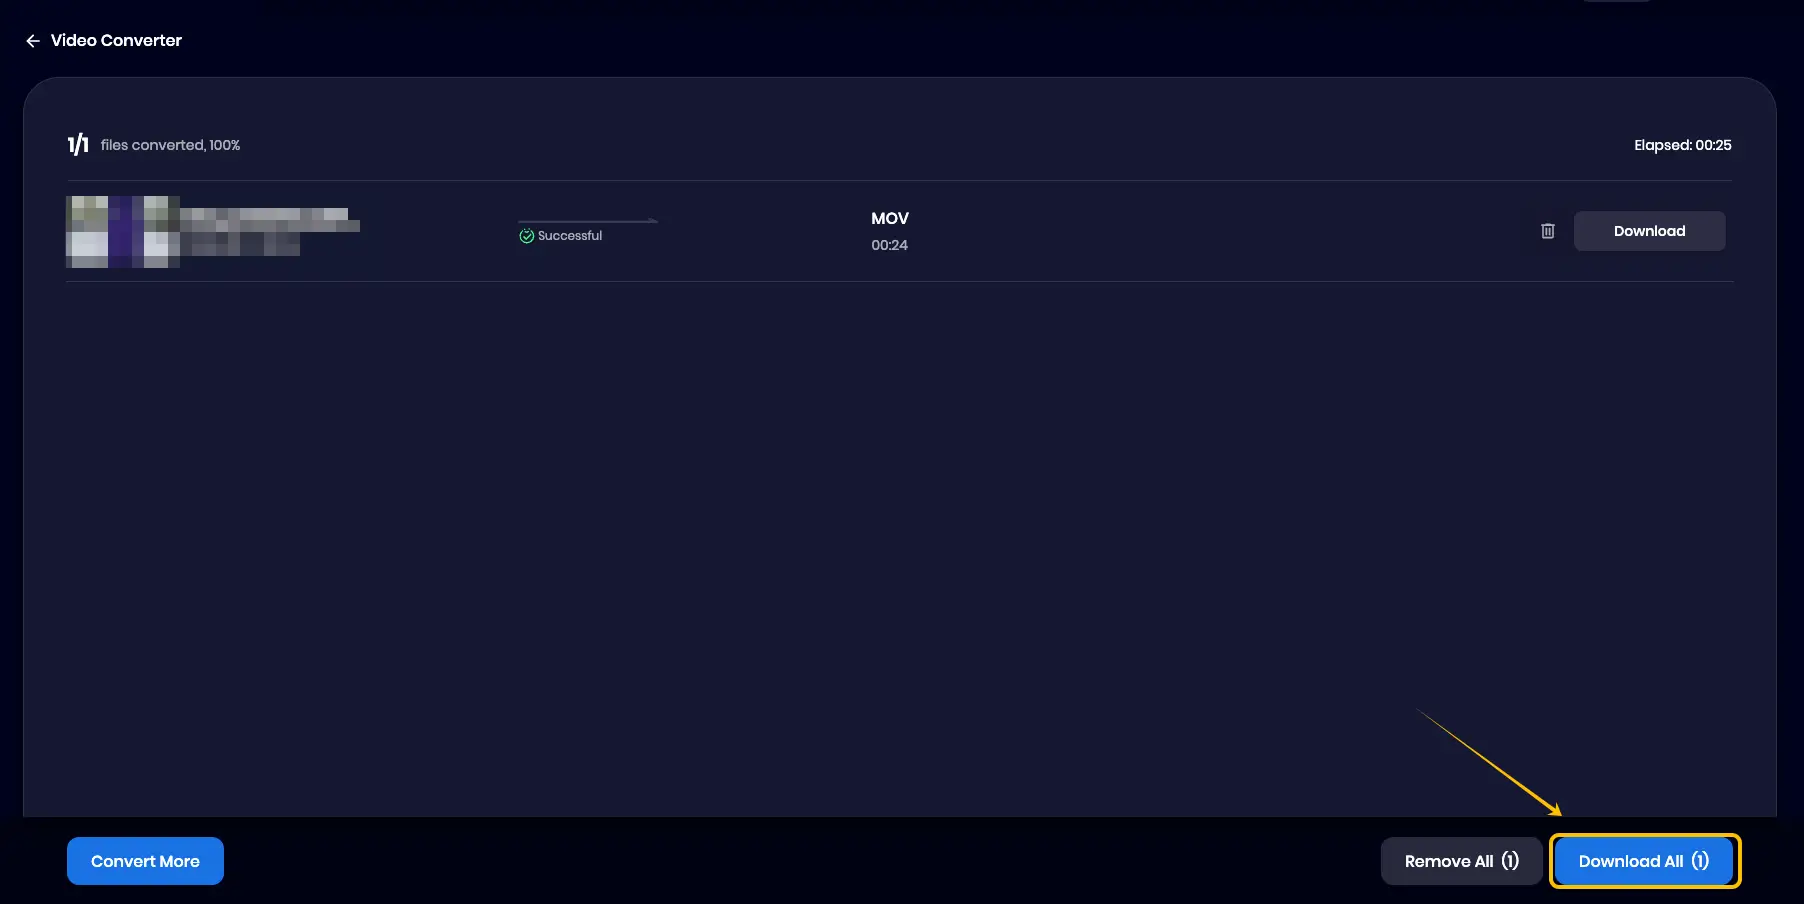
Step 6: Upload and Download
Once your settings are finalized, Upload your file. After the tool processes the conversion according to your rules, simply click the Download button to save the professional MOV file to your device.
Conclusion
Choosing the right converter depends on your balance of speed and control. Snappixify is my top pick for its professional settings and seamless experience. By selecting the right quality and codec, you can ensure your videos remain high-quality while simplifying your editing workflow.
FAQs
Why is MP4 not working in QuickTime?
QuickTime may fail to play an MP4 if it uses a codec Apple doesn't natively support (like certain older versions of H.264). Converting to a native MOV format ensures 100% compatibility and smoother playback.
Can I convert MP4 to other formats?
Of course. Using Snappixify, you can convert to over 500+ Video formats (including MKV, AVI, ProRes, WEBM) and 400+ Audio formats (including MP3, WAV, FLAC, Opus). It is a complete multimedia toolkit.
Can I save as MP4 in QuickTime?
Yes, but QuickTime Player’s options are limited. You can use the "Export As" feature, but for more control over file size and specific codecs (like H.265), a dedicated converter like Snappixify is much more efficient.
Is there a maximum length for YouTube downloads with Snappixify?
There is no specific limit on video length. However, larger or longer files will naturally take more time to process and convert before they are ready for download.
Do I need to install any software to convert videos?
No. You can handle everything directly in your browser using online tools like Snappixify, saving you from heavy installations and disk space usage.


