
Do you frequently record online meetings, webinars, or video tutorials? These video files—typically MOV or MP4—are large and inconvenient for pure audio listening, especially during commutes or workouts. This guide provides you with a complete solution, showing you exactly how to easily convert your screen recordings into lightweight MP3 audio files.
We will highlight a method that offers four core advantages: Fast, Simple, Online, and Batch processing, enabling you to effortlessly extract the audio content you need.
How to Get Your Screen Recording Source Files?
Many people record screen video but only need to extract the audio content. This method is an efficient way to capture any audio you want. Below are the steps to get high-quality screen recording source files on major platforms:
1. Mac Users: The Powerful Built-in QuickTime Screen Recorder
macOS provides a powerful, all-in-one tool for both screen recording and screenshots, integrated into one control panel.
-
Launch Shortcut: Command + Shift + 5
-
Recording: Press the shortcut to open the toolbar at the bottom of the screen. Select the “Record Entire Screen” icon or the “Record Selected Portion” icon.
-
Key Setting: In the "Options" menu, remember to select your preferred Microphone to capture audio.
-
Stop Recording: Click the Stop icon (a square) in the menu bar to finish the recording. An alternative shortcut to stop recording is: Command + Control + Esc.
-
Default Format: Mac screen recordings are natively saved as QuickTime Movie (.MOV) files.
2. Windows Users: Using the Built-in Snipping Tool
Windows 10/11 users can record video without third-party software using the built-in Snipping Tool:
-
Recording Shortcut: Windows Key + Shift + R
-
Steps: Press the shortcut to select the screen area you wish to record. You can toggle the Microphone and System Audio on or off before starting the recording.
-
Stop Recording: Click the Stop icon that appears in the toolbar.
-
Save Location: The finished video is automatically saved in your “Videos” - “Screen Recordings”or “Captures” folders.
-
Default Format: Windows recordings are typically saved as .MP4 files.
3. iPhone Users
The iPhone has a built-in screen recording function that is easily accessible:
-
Access Control Center: Swipe down from the top-right corner of the screen.
-
Add Recorder Button: If you don't see the recording icon, go to Settings to Control Center, find “Screen Recording”, and tap the green + button to add it.
-
Start Recording: Tap the Record Icon in the Control Center; a 3-second countdown will begin.
-
Record Audio: To include sound, Press and Hold the Record Icon and toggle the Microphone on or off.
-
Stop Recording: Tap the red indicator bar at the top of the screen or the Record Icon in the Control Center to stop.
-
Default Format: iPhone screen recordings are typically saved as .MOV files.
4. Android Users
Most Android phones come with a built-in screen recorder tool:
-
Open Quick Settings: Swipe down twice from the top of the screen to expand the Quick Settings panel fully.
-
Find Recorder Button: Look for the “Screen recorder” icon. If it’s not visible, tap the edit icon (pencil) to add it from the available tiles.
-
Start Recording: Tap the recorder button, choose your audio settings (device audio, microphone, or both).
-
Stop Recording: Swipe down from the top and tap the Screen recorder notification or the red recording icon to stop.
-
Default Format: Android screen recordings are typically saved as .MP4 files.
5. Recommended Free Third-Party Tool: OBS Studio
If you require professional recording features (e.g., multi-track audio, streaming, complex scene setups), OBS Studio is highly recommended:
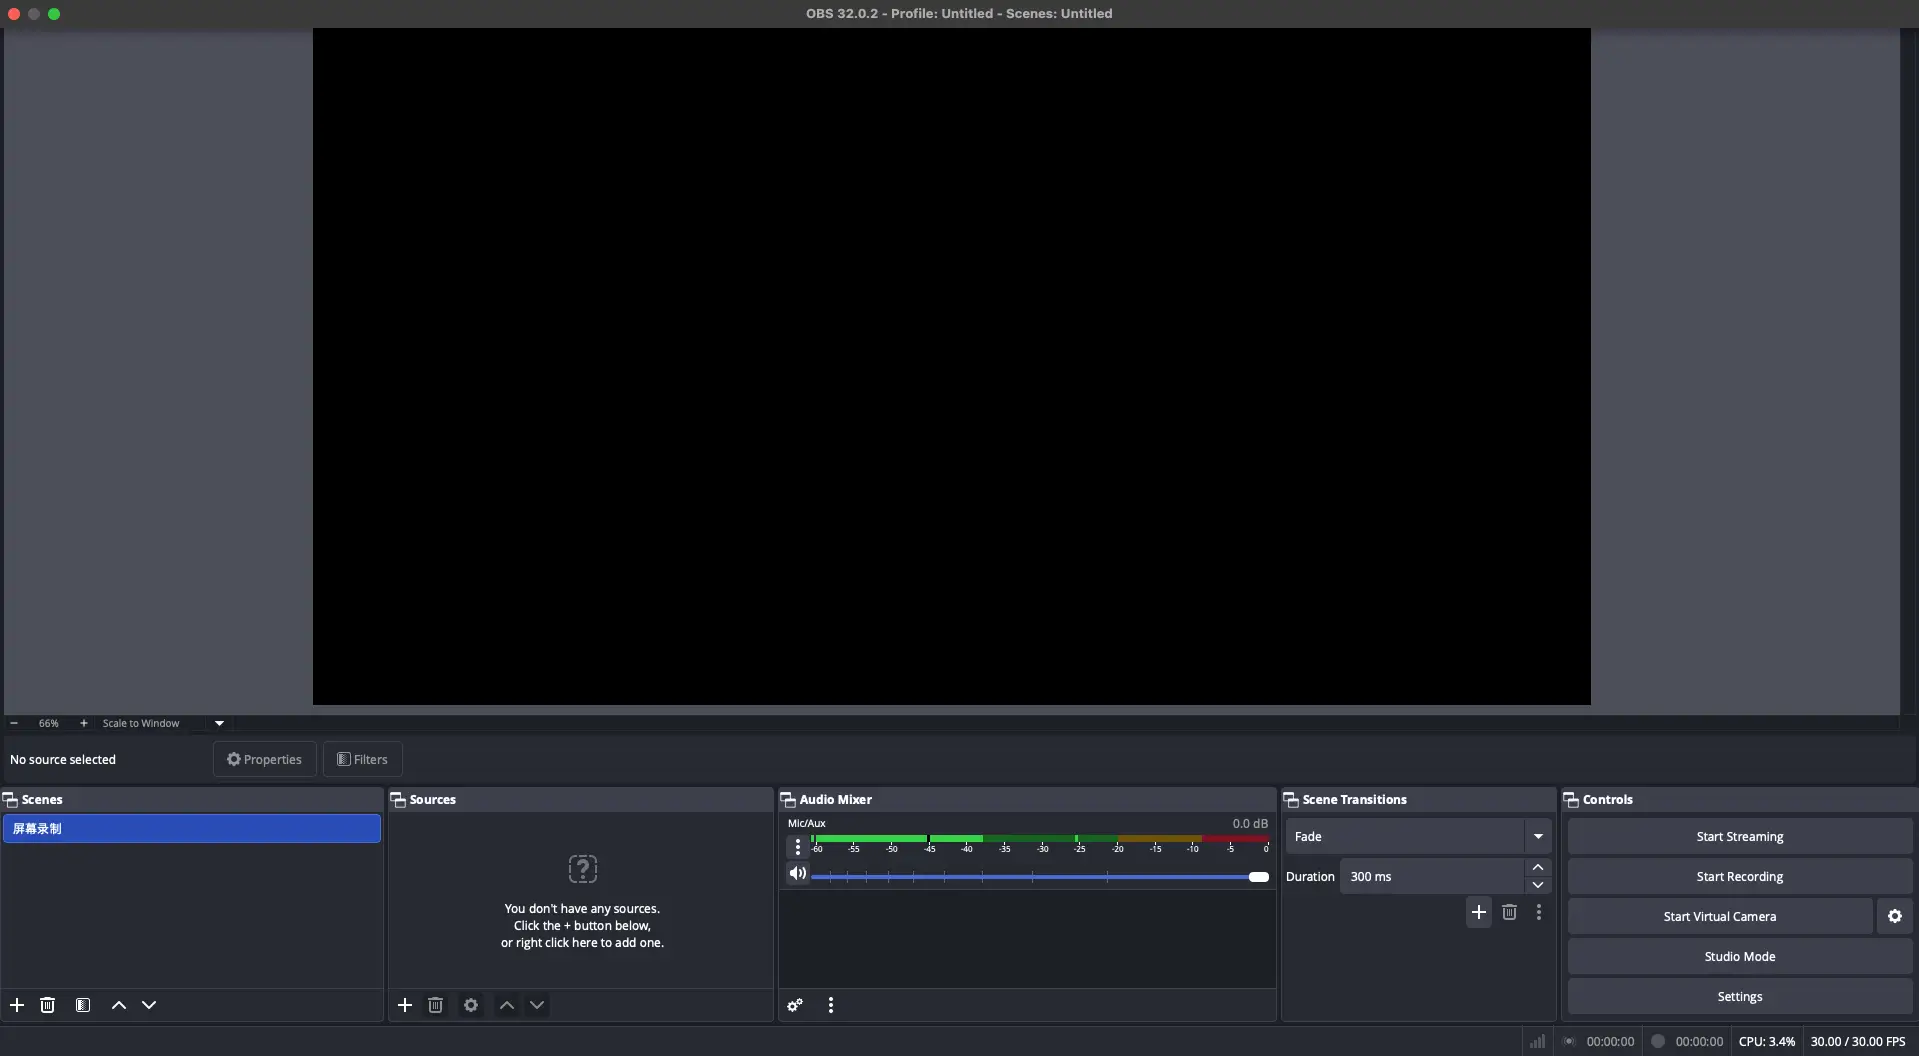
-
Features: Completely free, open-source, powerful, supports highly customized encoding and high-quality output.
-
Usage: You set up a “Scene” and add “Display Capture” as a “Source.” You can fully control the audio by adding separate “Audio Input Capture” (mic) and “Audio Output Capture” (system sound) sources.
Screen Recording File Formats: MOV vs. MP4
The recording methods above primarily generate files in two container formats: .MP4 (Windows/Android) and .MOV (Mac/iPhone).
-
Format Characteristics: Both are "container files" that hold both the video stream (picture) and the audio stream (sound).
-
MOV vs. MP4 (Choosing the Right Tool):
-
MOV: Developed by Apple, often uses Apple's efficient codecs (like HEVC) for high quality.
-
MP4: Based on the international standard, it offers the strongest universal compatibility and is natively supported by nearly all platforms and devices.
-
Recommendation: If cross-platform compatibility is your priority, tools that output .MP4 are often the best choice.
-
-
Necessity of Conversion: If your goal is to create a portable audio file from a video recording, you must use a conversion tool to extract the audio stream from the large video container and generate a lightweight, highly compatible .MP3 file.
Core Steps: How to Convert MP4/MOV to MP3 Audio with Snappixify
To achieve your goal of converting screen recordings to MP3, we highly recommend using an Online Conversion Tool. This approach perfectly meets your needs for speed, convenience, and efficiency.
1. Our Recommended Method: Snappixify - Leveraging Core Advantages
|
Core Advantage |
Specific Benefit |
|
Simple |
Beginner-friendly, minimalist 3-step process, no complex settings required. |
|
Online |
No software download is necessary; conversion can be done anytime, anywhere, using just your browser. |
|
Fast |
Optimized algorithms ensure rapid upload and conversion, even for large files. |
|
Batch |
Supports simultaneous upload of multiple MOV or MP4 files, allowing for one-click batch conversion to MP3, significantly saving time. |
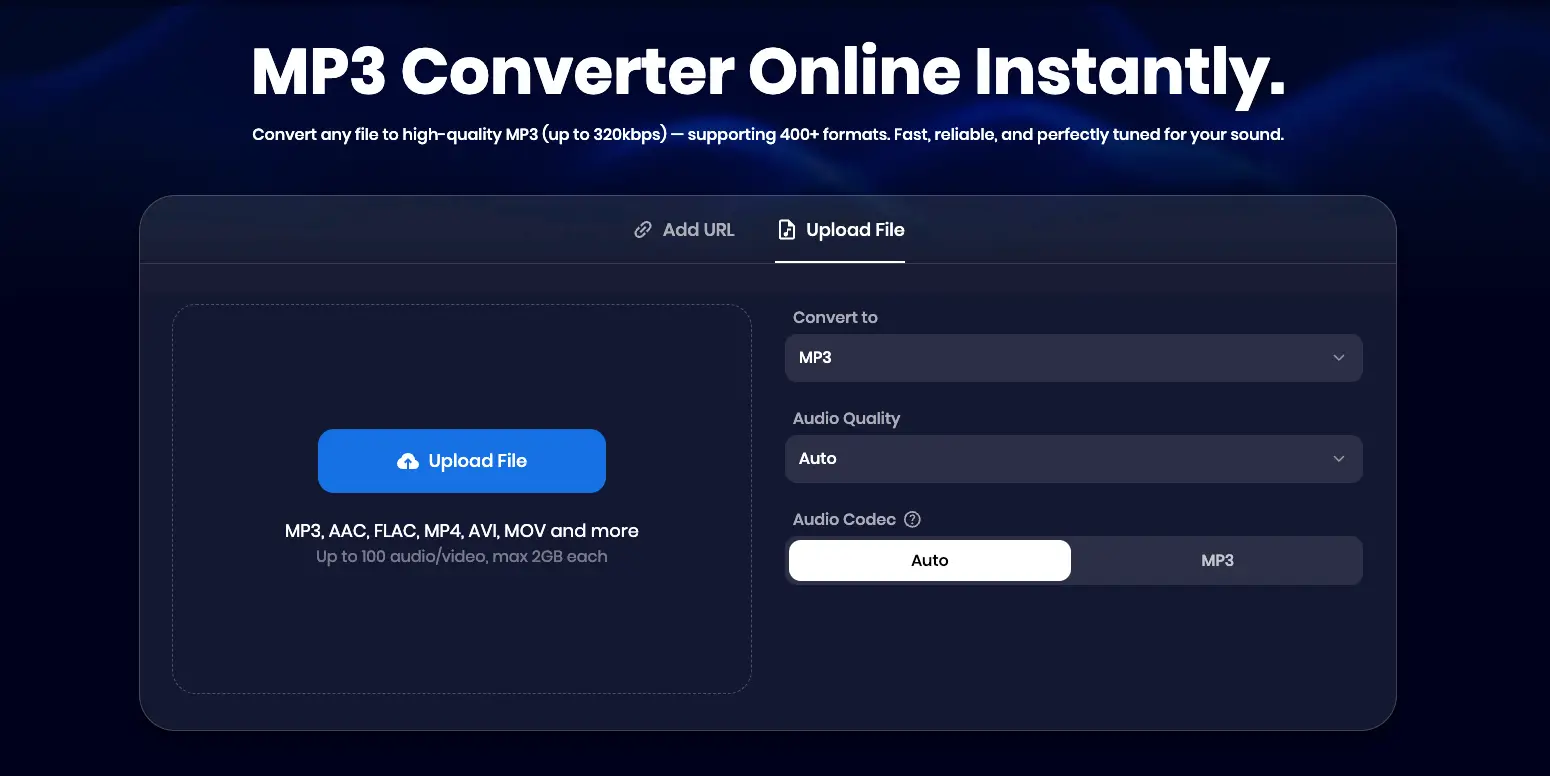
2. Conversion Process (Completed in Three Detailed Steps)
-
Set Format and Quality:
-
First, select the target format as MP3.
-
Choose the “Audio Quality”: You can select “Auto” or manually set the bitrate from 32 kbps up to 320 kbps. We recommend 128 kbps (good balance of quality and size) or 320 kbps (highest quality).
-
-
Upload and Batch Add Files:
-
Click “Upload File” and select your desired .MOV or .MP4 file(s), then click “Open.”
-
Once on the next screen, you can click “Add File” to continue selecting more files, enabling batch conversion.

-
-
Start Conversion and Download:
-
Click the “Convert All” button to initiate the conversion process.
-
Once complete, you can choose to click “Download” for individual files or click “Download All”to download all the newly converted MP3 files in a batch.
-
Who Needs This Tool?
Converting screen recordings to MP3 is an excellent strategy for content repurposing and information consumption efficiency. The following groups benefit immensely:
1. Students and Educators
2. Content Creators
3. Professionals and Corporate Teams
4. Podcasters and Media Personalities
-
Source Material Refinement: Podcasters can use the tool to extract clean audio from recorded interviews, presentations, and online events. This simplifies their post-production process, allowing them to quickly adapt valuable recorded discussions into polished podcast feed content.
FAQ About Converting Screen Recording to MP3
1. Why does my screen recording look blurry after importing it into a video editor (like CapCut)?
This issue is related to video encoding and editing settings, not the format conversion to MP3.
-
Mac MOV Encoding: MOV files recorded on a Mac may use the H.265 (HEVC) codec, which can sometimes cause compatibility or performance challenges in certain video editors.
-
Solution: If you experience blurring during editing, convert the MOV file to a more universally compatible H.264 MP4 before importing. Crucially, when exporting, always ensure you set a sufficiently high “Bitrate/Quality,” as a low bitrate is the main culprit for a blurry final video.
2. Which encoder is clearer: H.264 or H.265?
-
H.265 (HEVC) technically offers better compression efficiency and quality potential, providing the same quality in a smaller file size.
-
H.264 (AVC) is the preferred choice for stability and compatibility. For most 1080P screen recordings, if you prioritize smooth and stable performance in your editing software, H.264 MP4 is the safer choice.
3. Why should I convert my screen recording to MP3?
-
Saves Space: MP3 files are significantly smaller than video files.
-
Portable Listening: Enables convenient consumption of meeting, lecture, or course content anytime, anywhere, without needing to watch the screen.


